

Restore an Updraft Backup from Google Drive to a Fresh New Installation of WordPress with UpdraftPlus
We’ll cover restoring an off-site backup to a brand new WordPress installation while keeping everything intact, including the domain name. In this case, the backup is on Google Drive.
Use this procedure if:
- You have a corrupted site, and you need to wipe out everything and start over with a fresh WordPress install.
- You’re switching over to a new hosting provider or server, and you’re keeping your domain the same.
- Your website was hacked, and you need to remove compromised WordPress core files and a compromised database.
If you need to get rid of corrupted or compromised files or a bad database, make sure that you are restoring from a backup that was taken from before the problem began.
Here’s Your Video: Restore an Updraft Backup with UpdraftPlus
Getting Started
To get started, make sure that you have a new installation of WordPress set up and that your domain will point to this fresh install. How to Test: Type your web address into your browser, it should take you to this new, empty WordPress site.
You will lose the new administrator account for this new website during the restoration so it doesn’t matter what you choose when you set this new site up. Make sure that you have your old administrator credentials from the site that we’re restoring; you’ll need to log in once your website has been restored.
You will also lose whatever site title and description you set up on this fresh install during the restoration, so it doesn’t matter what you choose for these when setting up the new WordPress install.
UpdraftPlus Restore – Step-By-Step Instructions
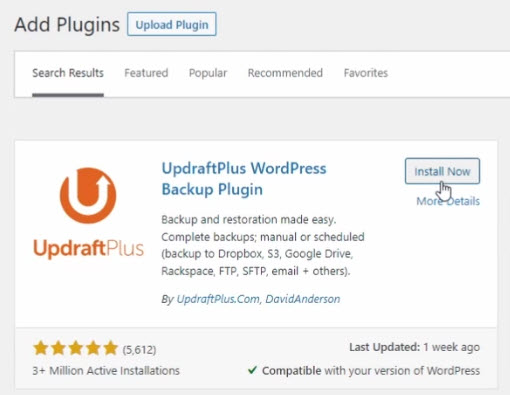
1. Download & Install UpdraftPlus on the newly installed site.
2. Connect to Google Drive
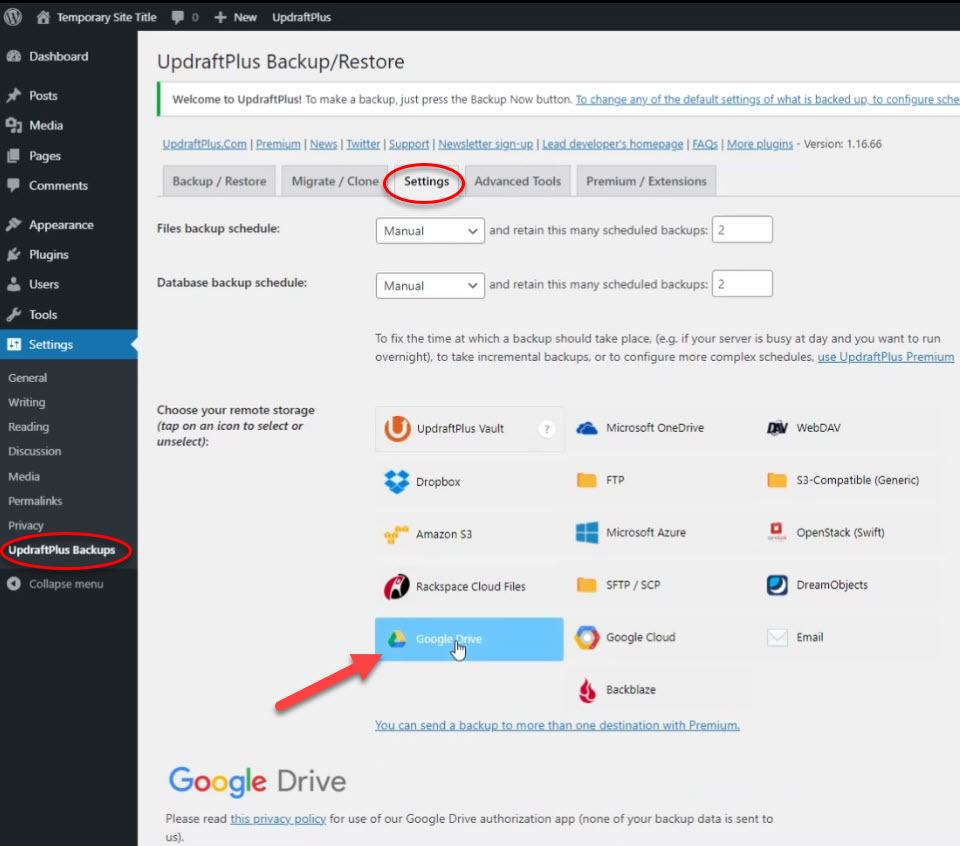
After selecting Google Drive, scroll down and save your changes. Next, follow the prompts to connect to your Google account.
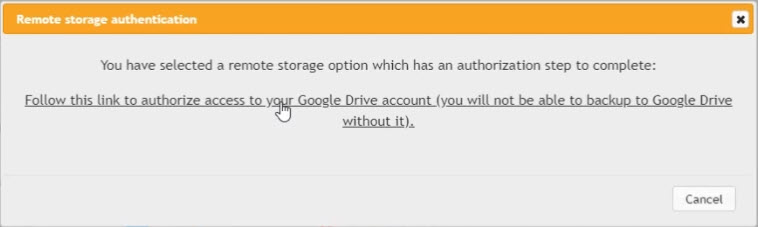
There will be several steps:
- Choose your Google account (you may have to enter your Google password)
- Allow UpdraftPlus to access your Google account
- Click the “Complete setup” button on the following screen to be taken back to the UpdraftPlus Backup / Restore screen on your website.
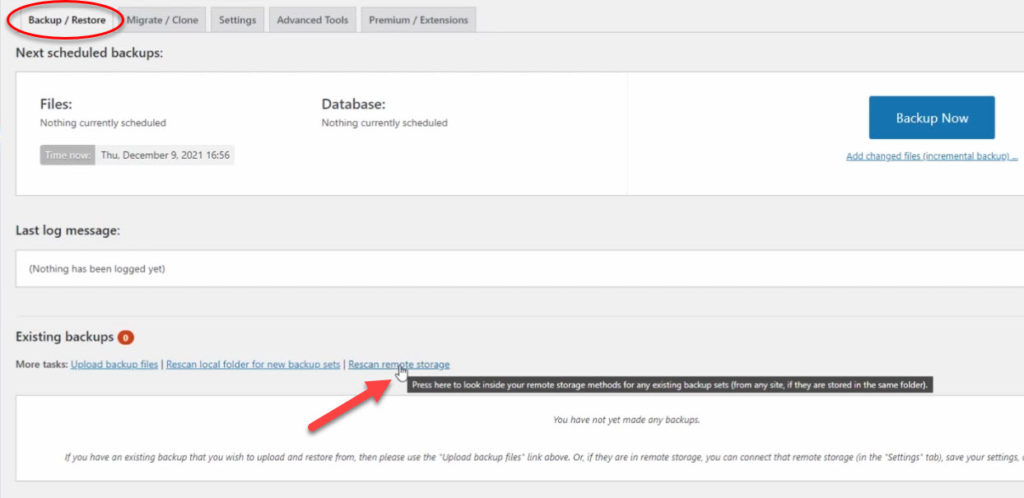
3. Rescan remote storage to import the list of available backups
4. Choose a backup and click on Restore

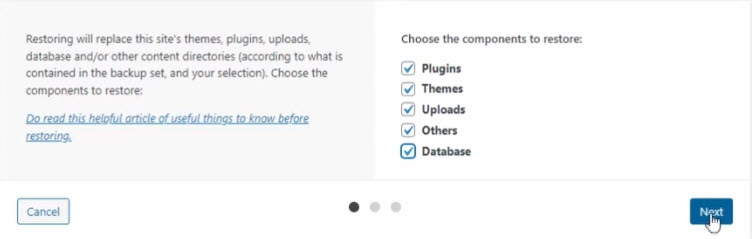
5. Choose the components to restore
Choose all of the components in order to do a full restoration of your website. If you have questions about this, a great place to start is UpdraftPlus’ article on things to know before restoring. Once you have selected these, click the Restore button on the next screen.
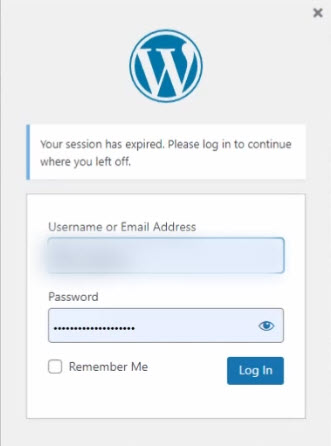
6. Let the backup run
Let the backup run. At some point, you’ll have to log in again. This means that the database from the site you are restoring has been restored. Use the credentials from that site to log in to your administrator account.
7. Verify that everyting is restored
The last step is to go through your website and ensure that everything is restored correctly. Check your pages, posts, plugins, themes, products, etc.
Look at your website like a visitor would using an incognito/private browsing window. Test your contact forms and make a test purchase if that applies.
If you’re doing a restore because your site was hacked, Install WordFence or Sucuri and let them verify that things are OK now. Sucuri has a great article on how to scan your site and remove malware.
Need More Help?
If you need more help you can always contact me. I also offer a WordPress maintenance service where I handle the firewall, offsite backups, and more.